Ripples of excitement have been reverberating through my favourite Facebook group, Linocut Friends. We’re all hearing for the first time about Ternes Burton registration pins, the answer to all our multi-colour lino print prayers. Having just made a two-colour print which was waaaay out of register, I got right on it and contacted Ternes Burton by e-mail. Much to my delight, Ms Ternes herself engaged in detailed correspondence with me about my needs, and assured me that the pins sit low enough to not damage my little etching press.
We decided she would send me the shortest pins – 0.55 of an inch – and their most popular – 0.85. She also helped me choose the best quantity of pins and matching stripping tabs to qualify for the surprisingly low $5 mailing charge to Europe. Today, eight days later, they arrived on my doormat and made me a very happy printmaker indeed.

So here’s how I used them (with thanks to this blog for setting me off in the right direction). First I went to my local hardware store and had 4mm MDF cut to 50x30cm, as my base. I also got double-sized carpet tape while I was at it. Then, as I would be using two different lino blocks for my print, I drew around the first before sticking it down with carpet tape.
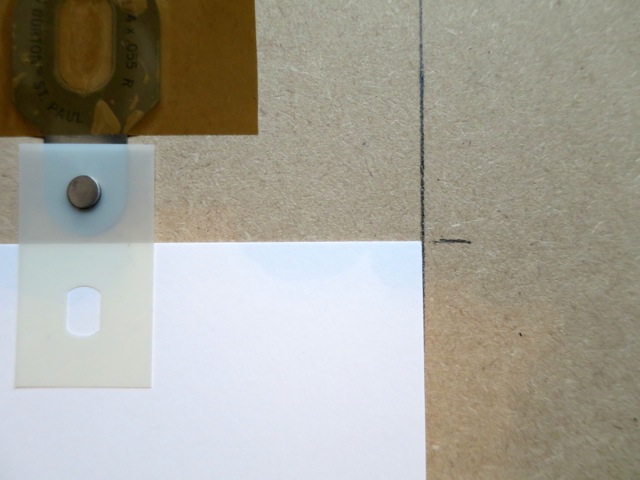
Next, I worked out exactly where I wanted to position the paper (A4 in this case) on top of the lino. Once positioned, I placed the Ternes Burton pins just above, and clipped two of the little plastic stripping tabs onto them.
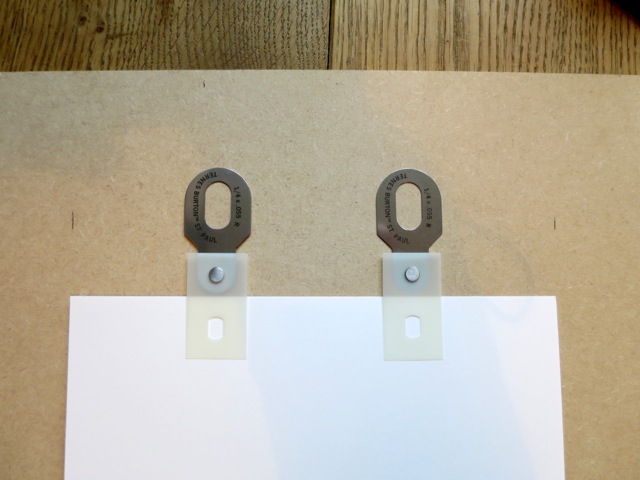
Now the stripping tabs were ready to tape down onto the paper. Each piece of paper in the whole edition would have two of these taped to it in advance. I used masking tape and made sure to depress it firmly into the little hole in the middle of the stripping tabs so that it wouldn’t move later and mess up registration. NB the side with the masking tape is the BACK of the paper. I also drew a pencil line around the inside of the hole of the pins themselves, to mark their position in case they later moved and had to be repositioned. I was going for belt and braces, but fortunately everything worked just fine without recourse to back-up plans.
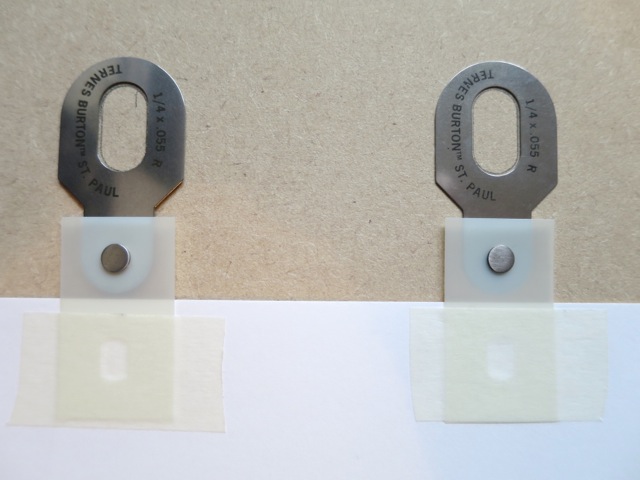
So I taped the pins down with parcel tape, again depressing the bit inside the holes as firmly as possible. I later added a strip of masking tape just in case. Belt and braces…
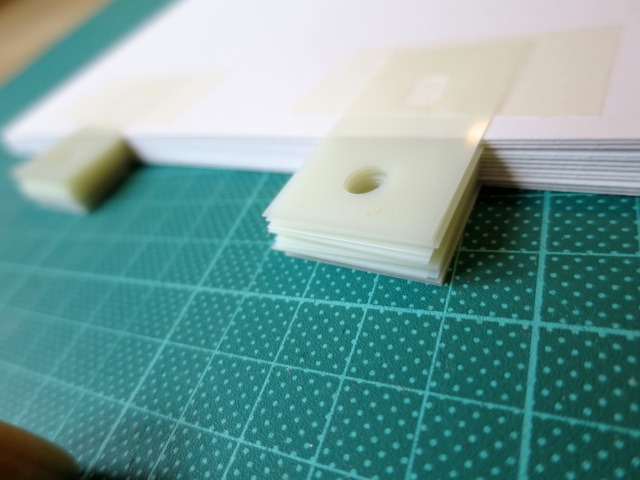
Now it was time to take away the bit of paper, and repeat the exercise for every sheet in the edition. I marked some little pencil lines to let me position the paper in the same place each time, but technically that’s not necessary – just nice to be neat. The crucial thing about registration is getting the same piece of paper back in the same place each time, so that’s about sticking things down firmly.
Each piece of paper got two tabs, first clipped onto the pins, then taped onto the paper, and finally unclipped from the pins. I ended up with a surprisingly neat pile. Neatness is not normally my forté. It was boding well.
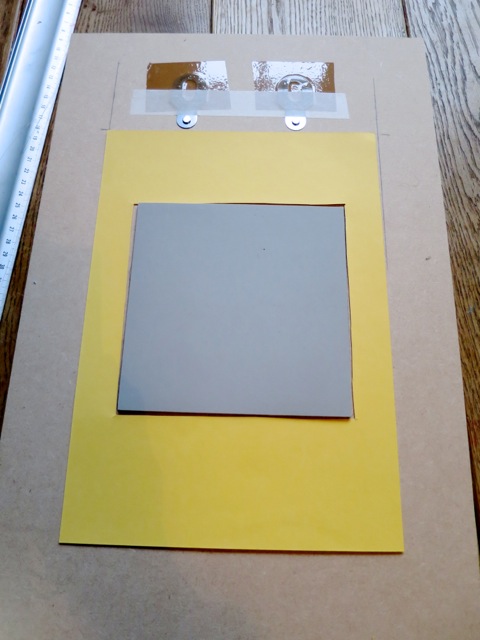
Now, time to make a quick and rough mask out of paper, because the ink will have to be rolled onto the lino while it’s mounted on its bed. This will keep things clean.
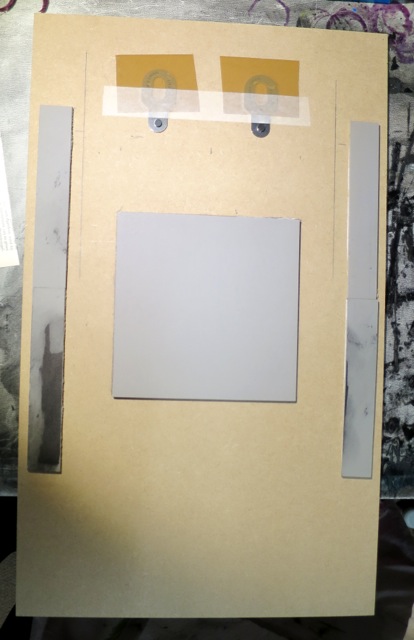
Lastly, I remembered that I don’t want to mess up my little rubber etching press rollers with the pins, and I added a couple of strips of lino along the edges of the bed. Next time I do this, I’ll start them a little higher up past the pins, so that I can have the roller already sitting on them while I attach the paper.
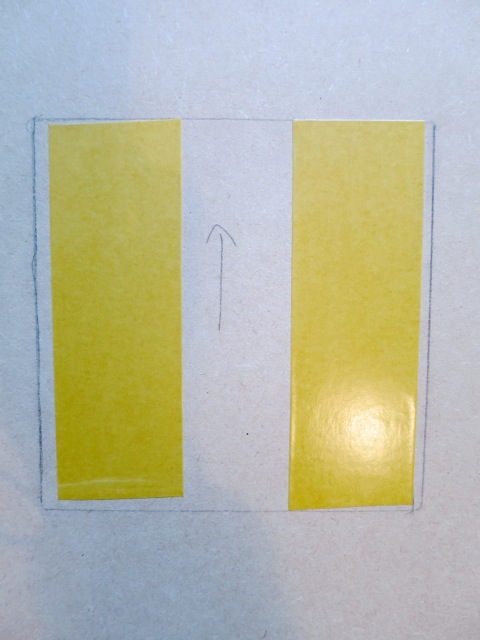
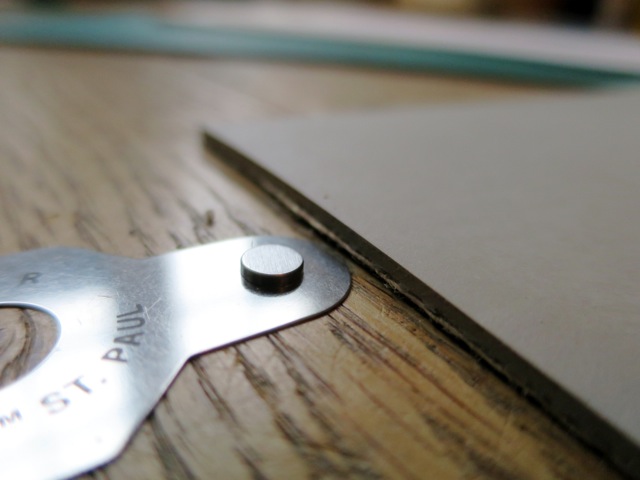
The pins sit lower than the height of the lino itself, so my rubber roller is quite safe to roll on top. Here’s the lowest available, which I used, the 0.55:
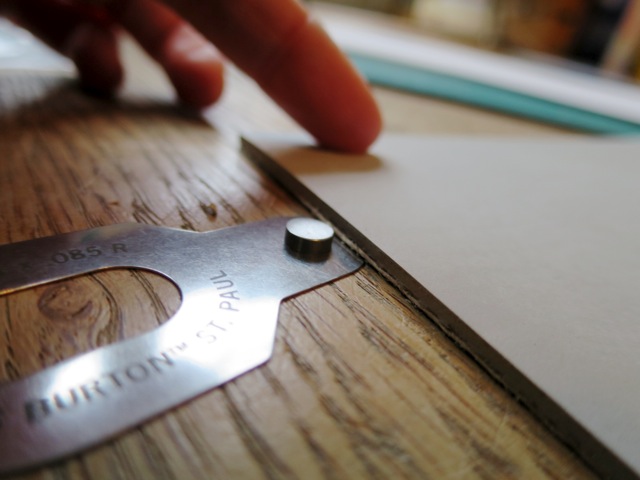
And here is the standard size, 0.85, which I didn’t use but I imagine the strips would snap more willingly over the top of them. You can see it’s still lower than the unmounted lino:
Anyway, now it was time to get to the shed and start printing. I had planned to use what I had made so far on top of the usual removable bed of my etching press, but I quickly realised that it would add an extra layer of complication – literally. So I found that using my base as the bed itself worked beautifully, and was easy to pull in and out.
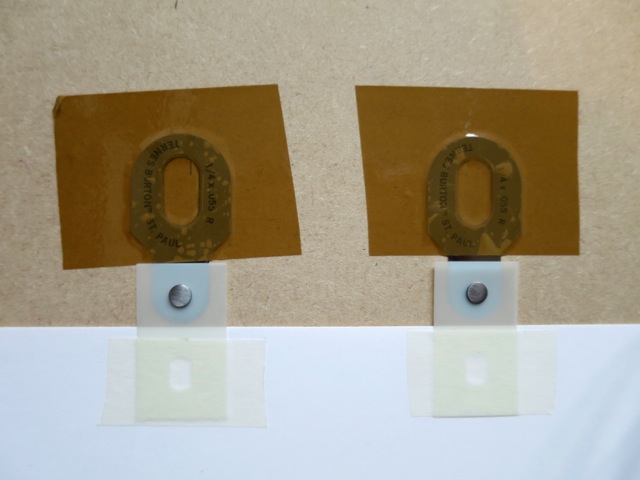
With the whole shebang on my working table, I inked up the lino. Note the mask being used to protect the bed from stray ink.
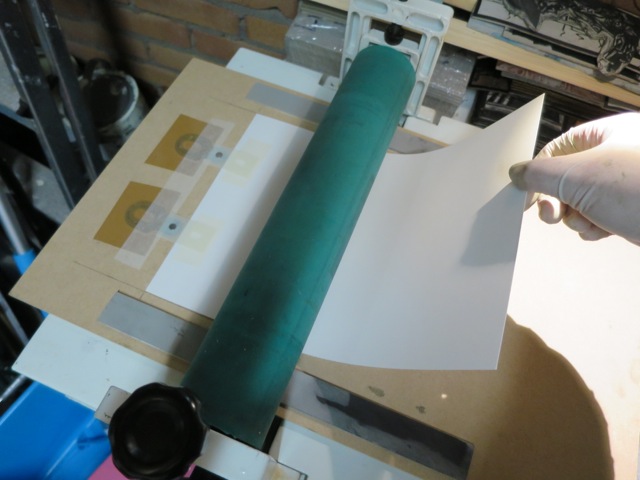
 I then removed the mask (NB I forgot this part several times and ended up with messy borders once or twice – but mostly got away with it) and clipped my first sheet of paper to the pins. I kept having to remind myself to ensure that the paper was masking tape side up, as that is the back. It’s a habit of mine to hold the paper up as it goes through the press, to avoid slippage, and I was able to do this easily as I normally would. You can use blankets, or whatever method normally works for you.
I loved the amount of control this process gave me – everything worked beautifully and in fact I liked the small scale of the press bed, and the fact the lino was fixed to it, so I may do that all the time from now on. This is where it gets amazing – I became so confident of the accuracy of my positioning, that on two occasions, when I had removed the print from the press and was unhappy with the ink transfer, I just clipped it back in, ran it through again, and you would never know in a million years that it had gone through a second time – not even a fraction of a millimetre out. Stunning.
Don’t look at my rainbow rolls. That’s a whole other learning process, which I have yet to fully undertake.
So now it was time to attach my second block. If this was a reduction cut, I would leave the lino exactly where it was and carve it on the MDF. The registration would be flawless. But in this case I needed to switch blocks so I prised the first off, put down some more carpet tape, and did my best to line the second block up with the pencil marks.
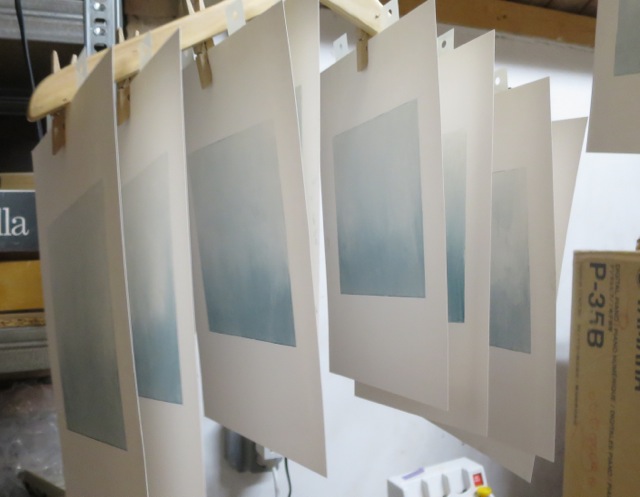
Then it was back to inking and printing, just as before. My first print was a tiny bit off so I prised the lino off its tape and repositioned it slightly, just on the same tape. It stuck fine, and was good for all the rest. For any future multi-block prints I think I’ll make some sort of test sheet for getting the positioning right, so I don’t waste any prints getting it right. I then printed the whole run and the only other prints I lost were nothing to do with registration – that turned out to be the easiest element of all!
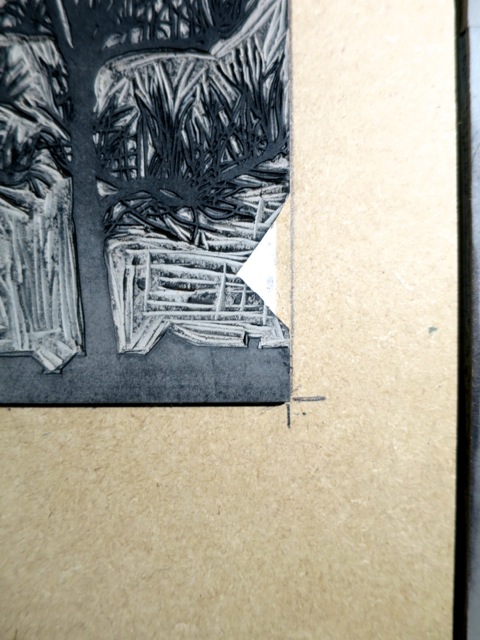
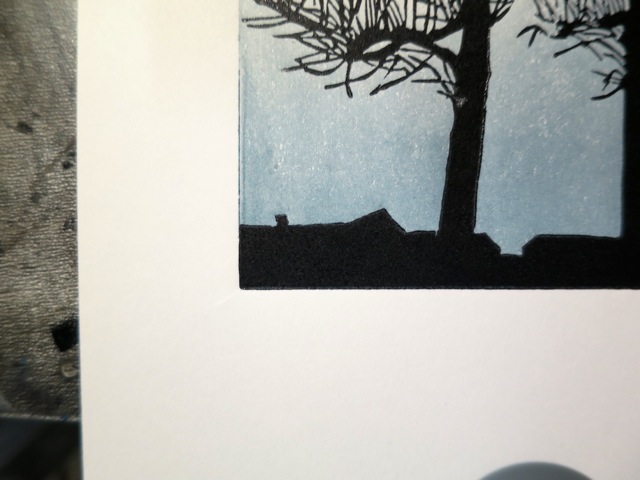
Look, no sticky outy bits!!
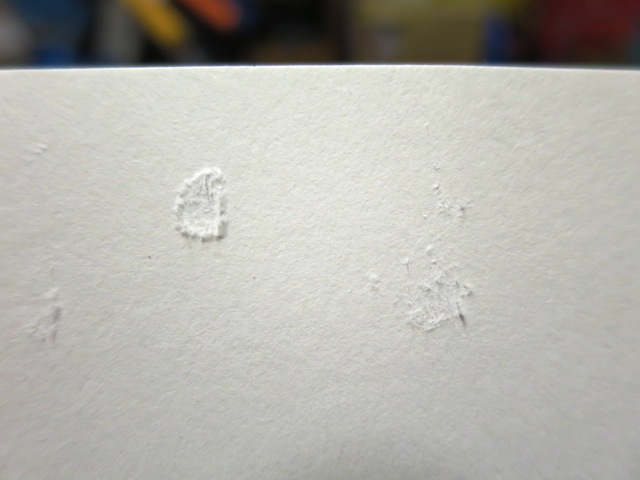
I tried removing the stripping tabs from one of the wet prints and it was a bit tricky, and left minor tears on the back of the thick paper. [EDIT: A couple of days later, now that the prints are dry, I have removed the rest, and the damage is pretty bad.] Next time, I’ll try more expensive removable masking tape, and hope that it doesn’t remove itself when I don’t want it to. Another good idea would be to position the image lower on each sheet, with the intention of chopping off the tops afterwards.
The MDF bed with the pins taped on is now perfectly good to reuse for my next print on A4 paper – I just need to stick down the new lino block with more carpet tape. The strips are reusable and not at all damaged by their use, so to calculate how many you need to buy, you’ll need at least your maximum edition size multiplied by two. And then don’t throw them away with the masking tape.
So, in conclusion, these things are AMAZING. They eliminate all error in registration, and have opened up a whole new world for me in what I can dare to achieve with multicolour prints – and reduction in particular. I enjoyed using them so much that I can almost see myself using them for single colour prints, just because they give you so much control. I am not exaggerating. Go and buy yourself a pack now.
UPDATE: If you’re in the UK, you can now buy Ternes Burton registration pins and stripping tabs direct from handprinted.net.
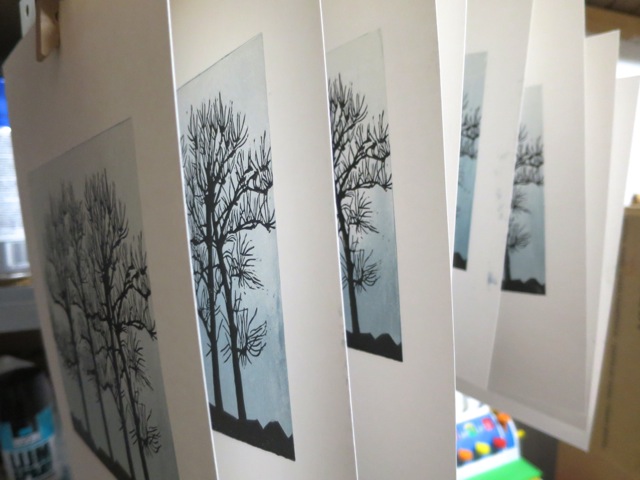
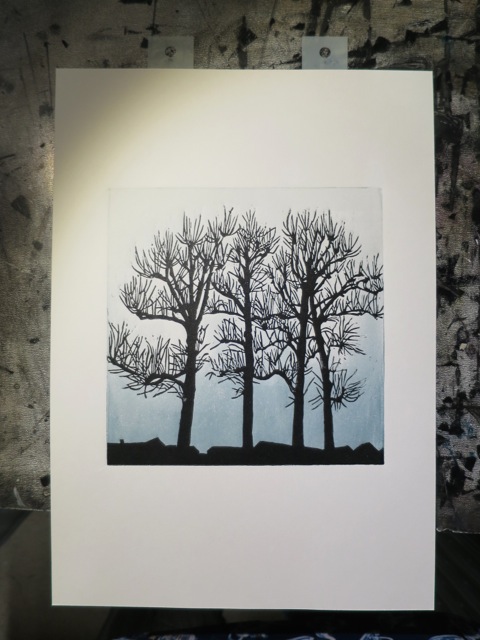
And if you’re interested in buying one of my beautifully registered pollarded tree prints, I have a small number available here.
